BRING YOUR 3D CHARACTER TO LIFE IN FIVE SIMPLE STEPS
By Johnny Papan
The word animation derives from the Latin word aminare which means “to give life to.” This is exactly what animation is about, giving life to something that once did not have life. Animation has been a staple in art and entertainment since the early 1900s, consistently evolving from the complex projections of ink on paper to a mostly electronic medium. Though there are countless animation styles that span the 2D and 3D realms, there is still a fundamental idea that all animators must follow. Breathe life into your characters and their environments.
But how exactly do you give life to your character? Animation is a meticulous process which requires artful attention to detail, and a fair amount of preparation.
Here are our five key steps to bringing your 3D characters to life.
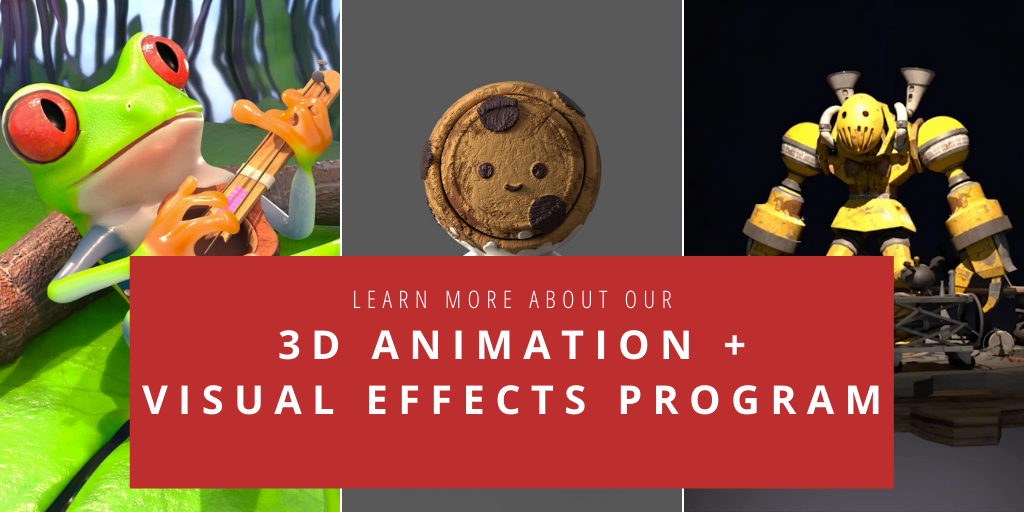
Click here to learn more about InFocus Film School’s 3D Animation and Visual Effects Program
STEP 01
MEET NORMAN
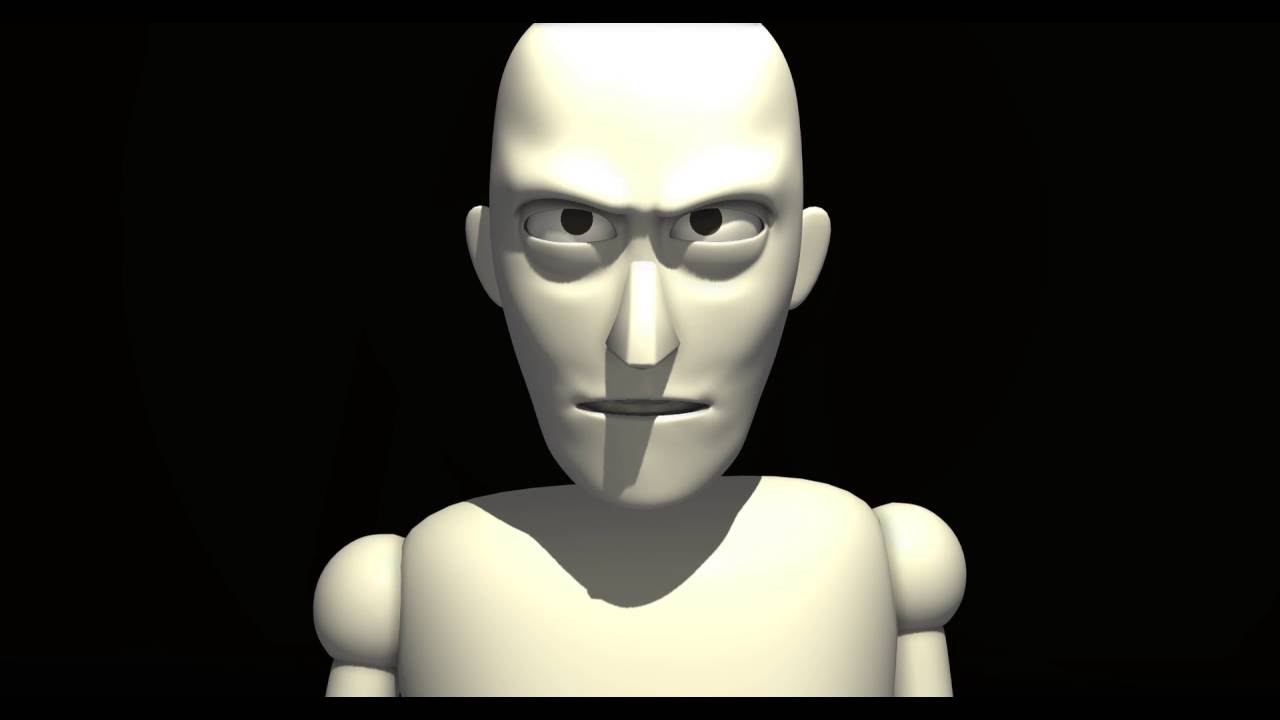
Norman is a popular animation rig that is freely available to the public. For those who are unfamiliar, a rig is a digital puppet that you can customize in Autodesk Maya, the standard industry software for 3D animation. Simply put, skeletons are used for character movement.
STEP 02
RECORD A CHARACTER REFERENCE VIDEO
It is strongly believed that, in order to be a good animator, you must also be a good actor. This is especially true in regards to the way you move your body and make facial expressions. In order to bring an animation to life, you must model it after real life, or else movements are going to look strange and clunky. Most animators will film their references in multiple angles to get a full view of how the body moves and positions, getting a full scope on how to model their character.
The video below shows how animator Jeff Gabor utilized character reference videos for the film Horton Hears A Who.
STEP 03
ANIMATE KEY POSES

Key poses are the main face and body expressions used by your character in the scene. They are often the most lively and dramatic, the pose that will add that emotional human element to your 3D model, allowing the audience to believe in the character as a living thing. Key poses are created from the character references shot in step 02, however, it’s good to note that sometimes “reality” doesn’t translate as well in the animated world. Oftentimes you’ll notice animators will add some pizzazz and over dramatize their character poses to really bring them to life.
STEP 04
“IN-BETWEENS”
https://youtu.be/OS_Eb0j728Q
After you animate your character’s key poses, you would begin working on what the industry refers to as the “in-betweens.” In-betweens, simply, are the movements your characters makes in-between their key poses. For example. If key pose one is a character sitting on a chair, and key pose two is the character standing, the in-between would be the motion your character makes to get from sitting to standing. Like your key poses, these are done with as much realism as possible.
STEP 05
POLISH THE ANIMATION

By the end of every animation, there is a series of questions the animator will ask themselves before finalizing the scene.
- Does this look real?
- How believable is it?
- Is it attractive to the eye?
And so on and so forth. Now, the animator will go over the completed animation, polish any kinks, hiccups, or strange movements.. Once the animator is happy, they can add 3D lighting, motion blur, and more to add zing to their render.
Then voila! Your character is ready to drop into a landscape.
If you’re interested in InFocus Film School’s 3D Animation & Visual Effects or Compositing for VFX programs visit www.infocusfilmschool.com for more information.