Cinematography Spotlight: 3 Lighting Tips for Film Production School Students

Let’s talk about lighting! An often underestimated aspect of filmmaking and production, film/TV lighting has a major impact on the look and feel of every scene. Think Amelie’s warm tones, Citizen Kane’s dramatic high-contrasts, and Pulp Fiction’s vibrant neons. Thanks to stylistic lighting choices, these iconic films are anything but flat.
Setting up lighting on a film set takes practical savvy, creative flair, and even some time management skills. As industry pros can tell you, achieving the perfect lighting for every scene can be a time-consuming process of trial and error.
If you’re considering making your mark on the film production industry, these three tips can help make lighting a perfectly painless process.
1. Never Underestimate the Standard 3-Point Lighting Technique
A trusty standby you’re sure to encounter throughout your career in film production is the 3-point lighting technique, so-called because of its placement of light sources in—you guessed it—3 distinct spots.
3-point lighting involves a key light, fill light, and back light (often called a kick light). The key light is the main light illuminating the subject of the scene. The fill light does the important work of lighting up the rest: filling in the harsh shadows created by the key light on background objects/scenery. The back light is placed directly behind the subject of a scene, which might seem counterintuitive, but is completely necessary for separating the subject from the background in the eyes of your viewers.
Though this 3-point lighting method is far from the only way to effectively shoot a scene, it is a quick, basic, and accessible way to create crisp, clean shots on any film production set.
2. Experiment with Mixed Colour Temperatures When You Study Film Production
If you’re interested in the film industry, chances are you have an appreciation for the artistic side of the movie medium. At a film production school like InFocus, you’ll be encouraged to fine-tune your creativity by experimenting with a range of filming and lighting styles.

Tinted strobe lights add a vibrant dynamic to this dance club still
One way to step up your lighting game is to experiment with varying tones, shades, and colours. One great example of colour play is the steel mill scene in Terminator 2, wherein ‘The Governator’ is lit by a mix of blue and orange colour temperatures. James Cameron says this combo was inspired by “moonlight and molten steel,” adding a dramatic touch to his film’s climax.
Using colour to its full effect in lighting and film production requires the expertise in colour-matching, using chrome film and gels, and more industry-specific skills you can develop when you study film production. Though it can be trickier than your standard 3-point shoot, colourful choices can lead to more interesting and dynamic cinematography.
3. Shoot in the Order of Your Lighting Setups in Film Production School & Beyond
You’ve heard it before and you’ll hear it again: in the film industry, time is money. The time it takes to set up and test optional lighting for each shot is vitally important to the polish of the final product, but it should be done as quickly and efficiently as possible.
In film production school and out on set, it’s best to practice shooting scenes in ways that minimize your need to take down, relocate, and reassemble lights. Wise directors, cinematographers, and film production crews often choose to shoot scenes and shots in the order of the lighting setups.

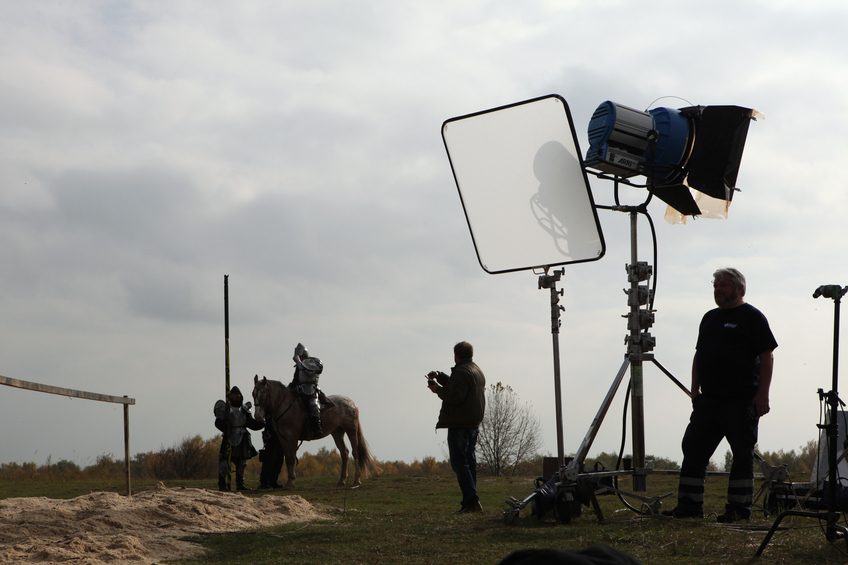
Indoors or out, lighting is a major factor impacting production schedules
It’s “lights, camera, action” in that order for a reason! With the right skills, you can ensure film casts and crews aren’t kept in the dark for longer than necessary, and help every shot look its best.
Are you interested in taking film production courses in BC?
Visit InFocus Film School to learn more about getting started!


Leave a Reply
Want to join the discussion?Feel free to contribute!